Complex engineering parts, such as compressor and turbine blades, car body parts and many others, are characterised by: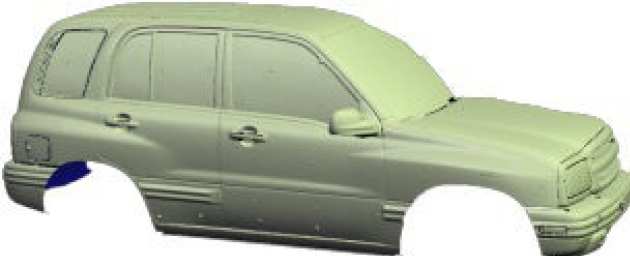
- Free-form surfaces
- Absence of clear reference features
- Inadequate tolerance standards
- High accuracy required
When faced with the task of inspecting such parts, the issues arising include: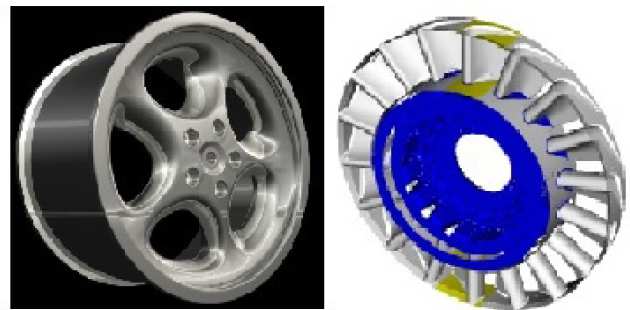
- Large number of measurements needed to characterise the object
- Random measurement distribution
- Measurement noise
- Computational efficiency
- Robustness
- Need for generic methodology
Research in CAD-Based measurement
Research to date has resulted in the development of a metrology framework aimed at addressing these issues. The particular focus is on the measurement and analysis of free-form shapes. This has resulted in the development of novel methods and tools to realise the following:
Research in CAD-Based measurement
Accurate measurement of free-form engineering parts poses a number of challenges that are not adequately met by the conventional inspection methods. Issues include: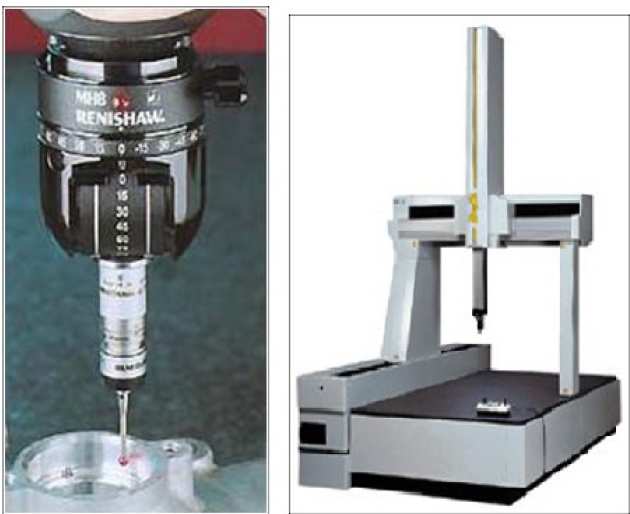
- Important to control measurement of each point
- Point distribution must match subsequent processing
- Elimination of outliers
- Need to accurately measure fine features: small radii of curvature
- Measurement process optimisation
- collision-free path
- overall measurement time
- machine-specific issues
Measurement planning tools
- Import and visualisation of CAD models
- User control of measurement distribution according to several sampling criteria
- uniform sampling in u & v directions
- chord-height criterion
- parameterisation-based criterion - Probe path generation (DMIS, CMES) based on selected measurement pattern, stand-off distance etc.
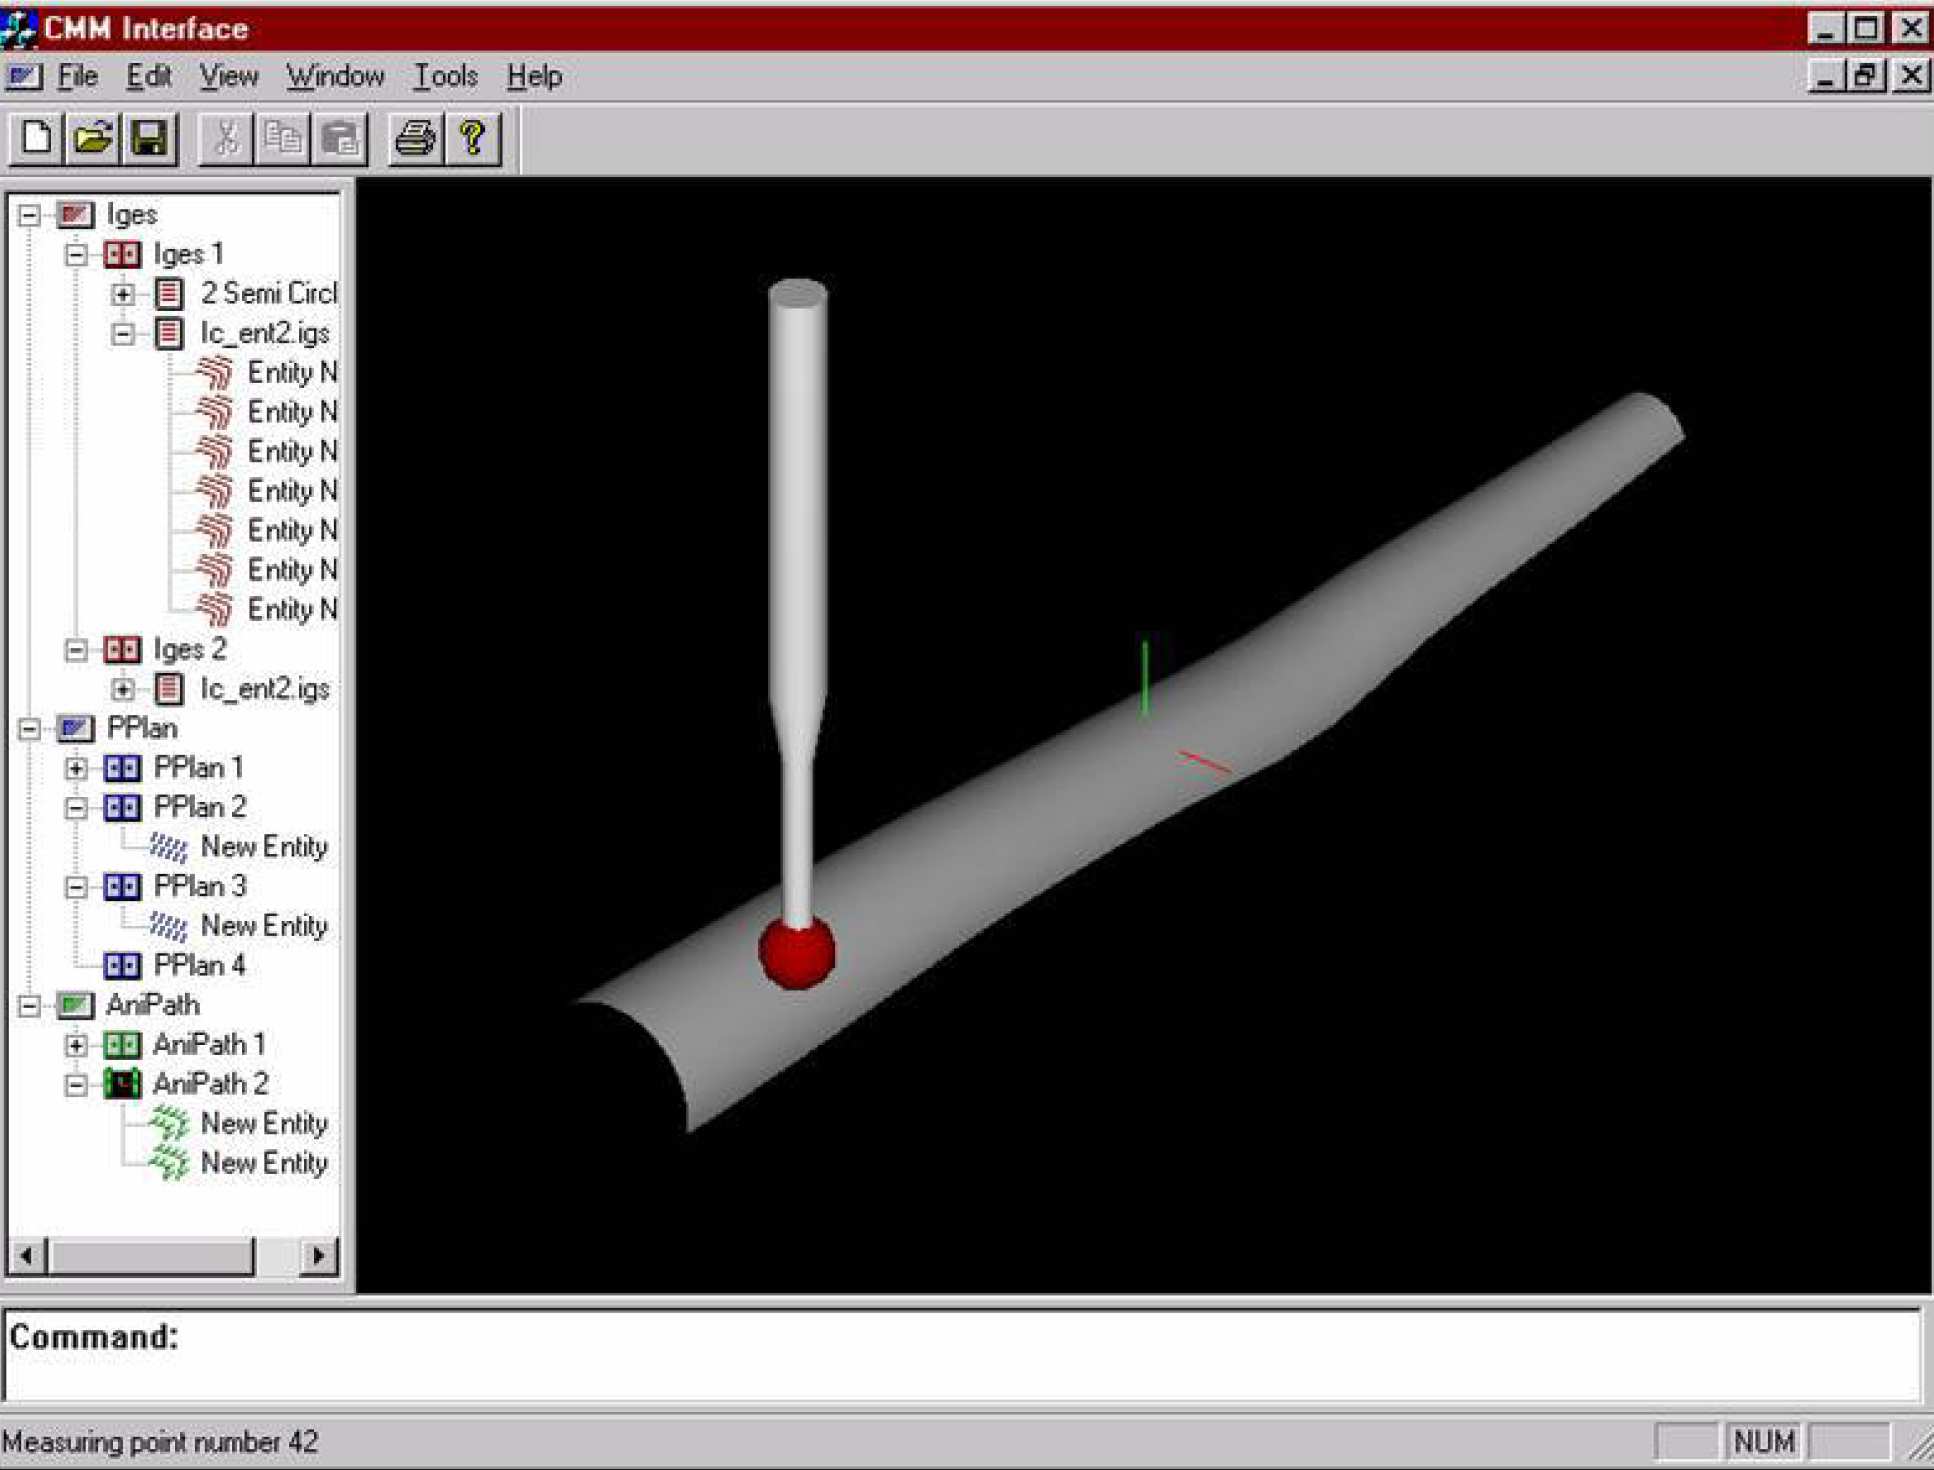
- Probe path verification/simulation executes the CMM code
- Probe radius compensation based on offset surfaces
The Iterative Closest Point (ICP) method was adopted to perform alignment between the the point data and the CAD model. The implemented algorithms involve a number of significant imporovements including for dealing with CAD models defined using NURBS and large measurement data sets:
- Computational efficiency
- Robustness - global convergence
- Accuracy
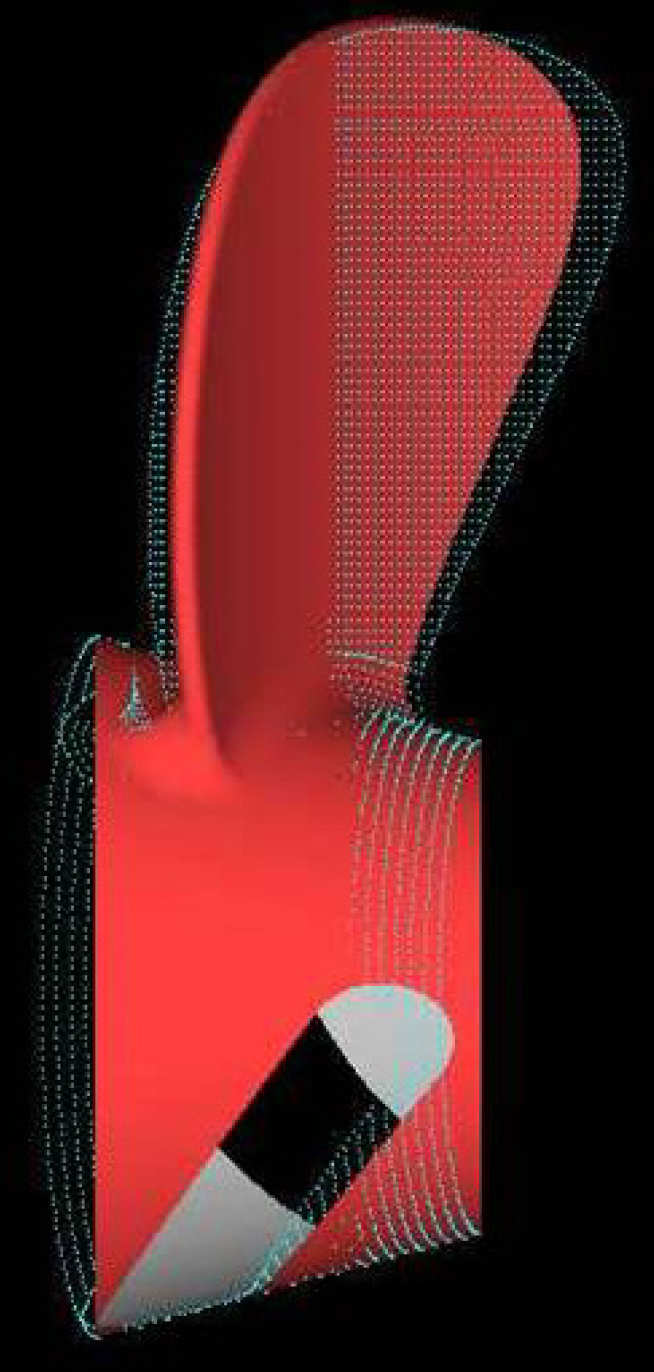
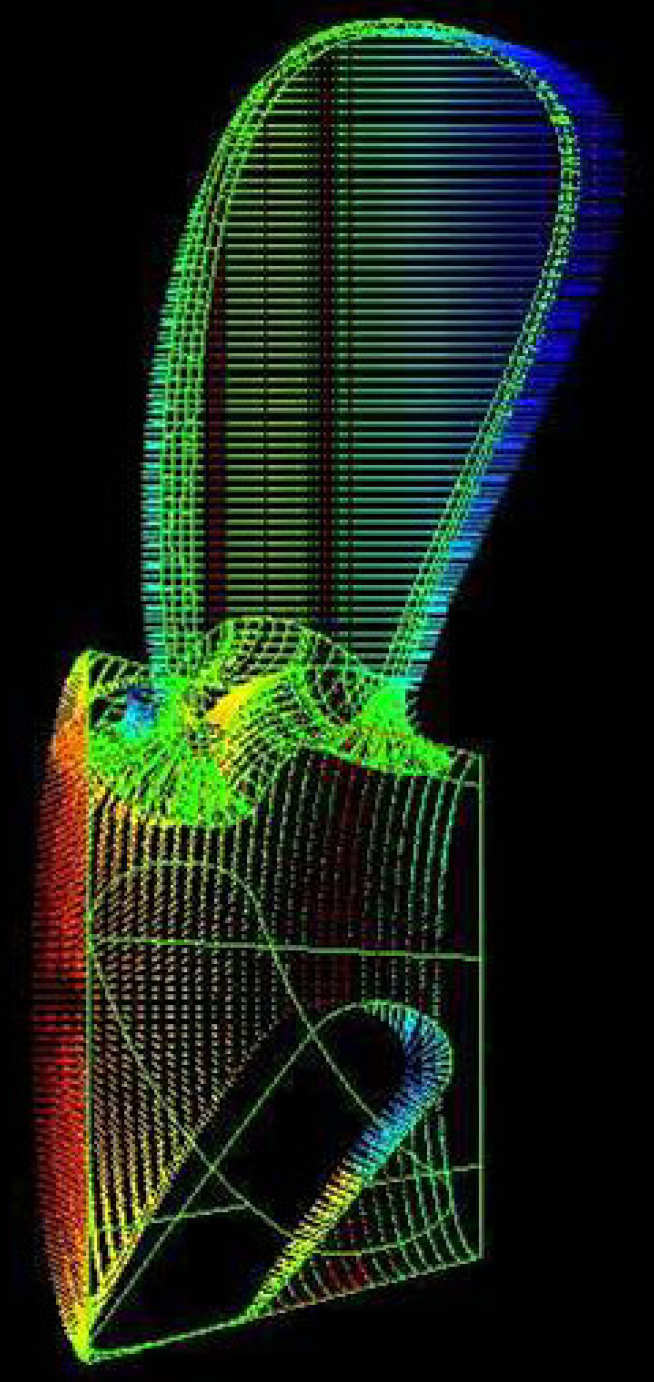
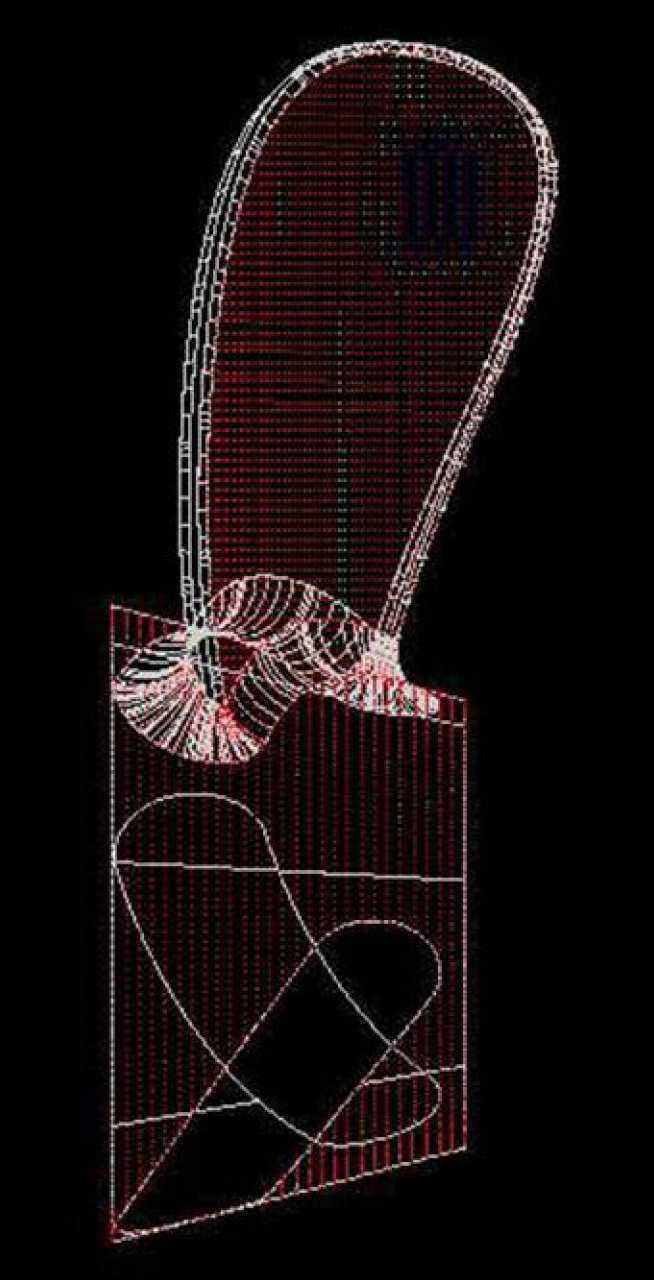
The following example shows a complex CAD model defined using NURBS (part of a marine propeller) and a large set of measured points. The initial error can be clearly seen in the colour coded visualisation. The final result may require several hundred iterations of the ICP algorithm, emphasising the need for high computational efficiency.
- Error analysis and visualisation
- Probe radius compensation for contact probes
- Simulation of the measurement process
- Automatic programming of the CMM
Contact us
Dr. Mihailo Ristic
Senior Lecturer
T: +44 (0)207 594 7048
E: m.ristic@imperial.ac.uk
Dr. Djorje Brujic
Research Fellow
T: +44 (0)207 594 7175
E: d.brujic@imperial.ac.uk